I promise, ironing a shirt is not that complicated! With a little bit of elbow grease and by following these simple steps, you’ll have a wrinkle-free shirt in no time. This article will explain how to iron a shirt easily in just a few simple steps. You’ll see that it’s not as complicated or time-consuming as you may have thought!
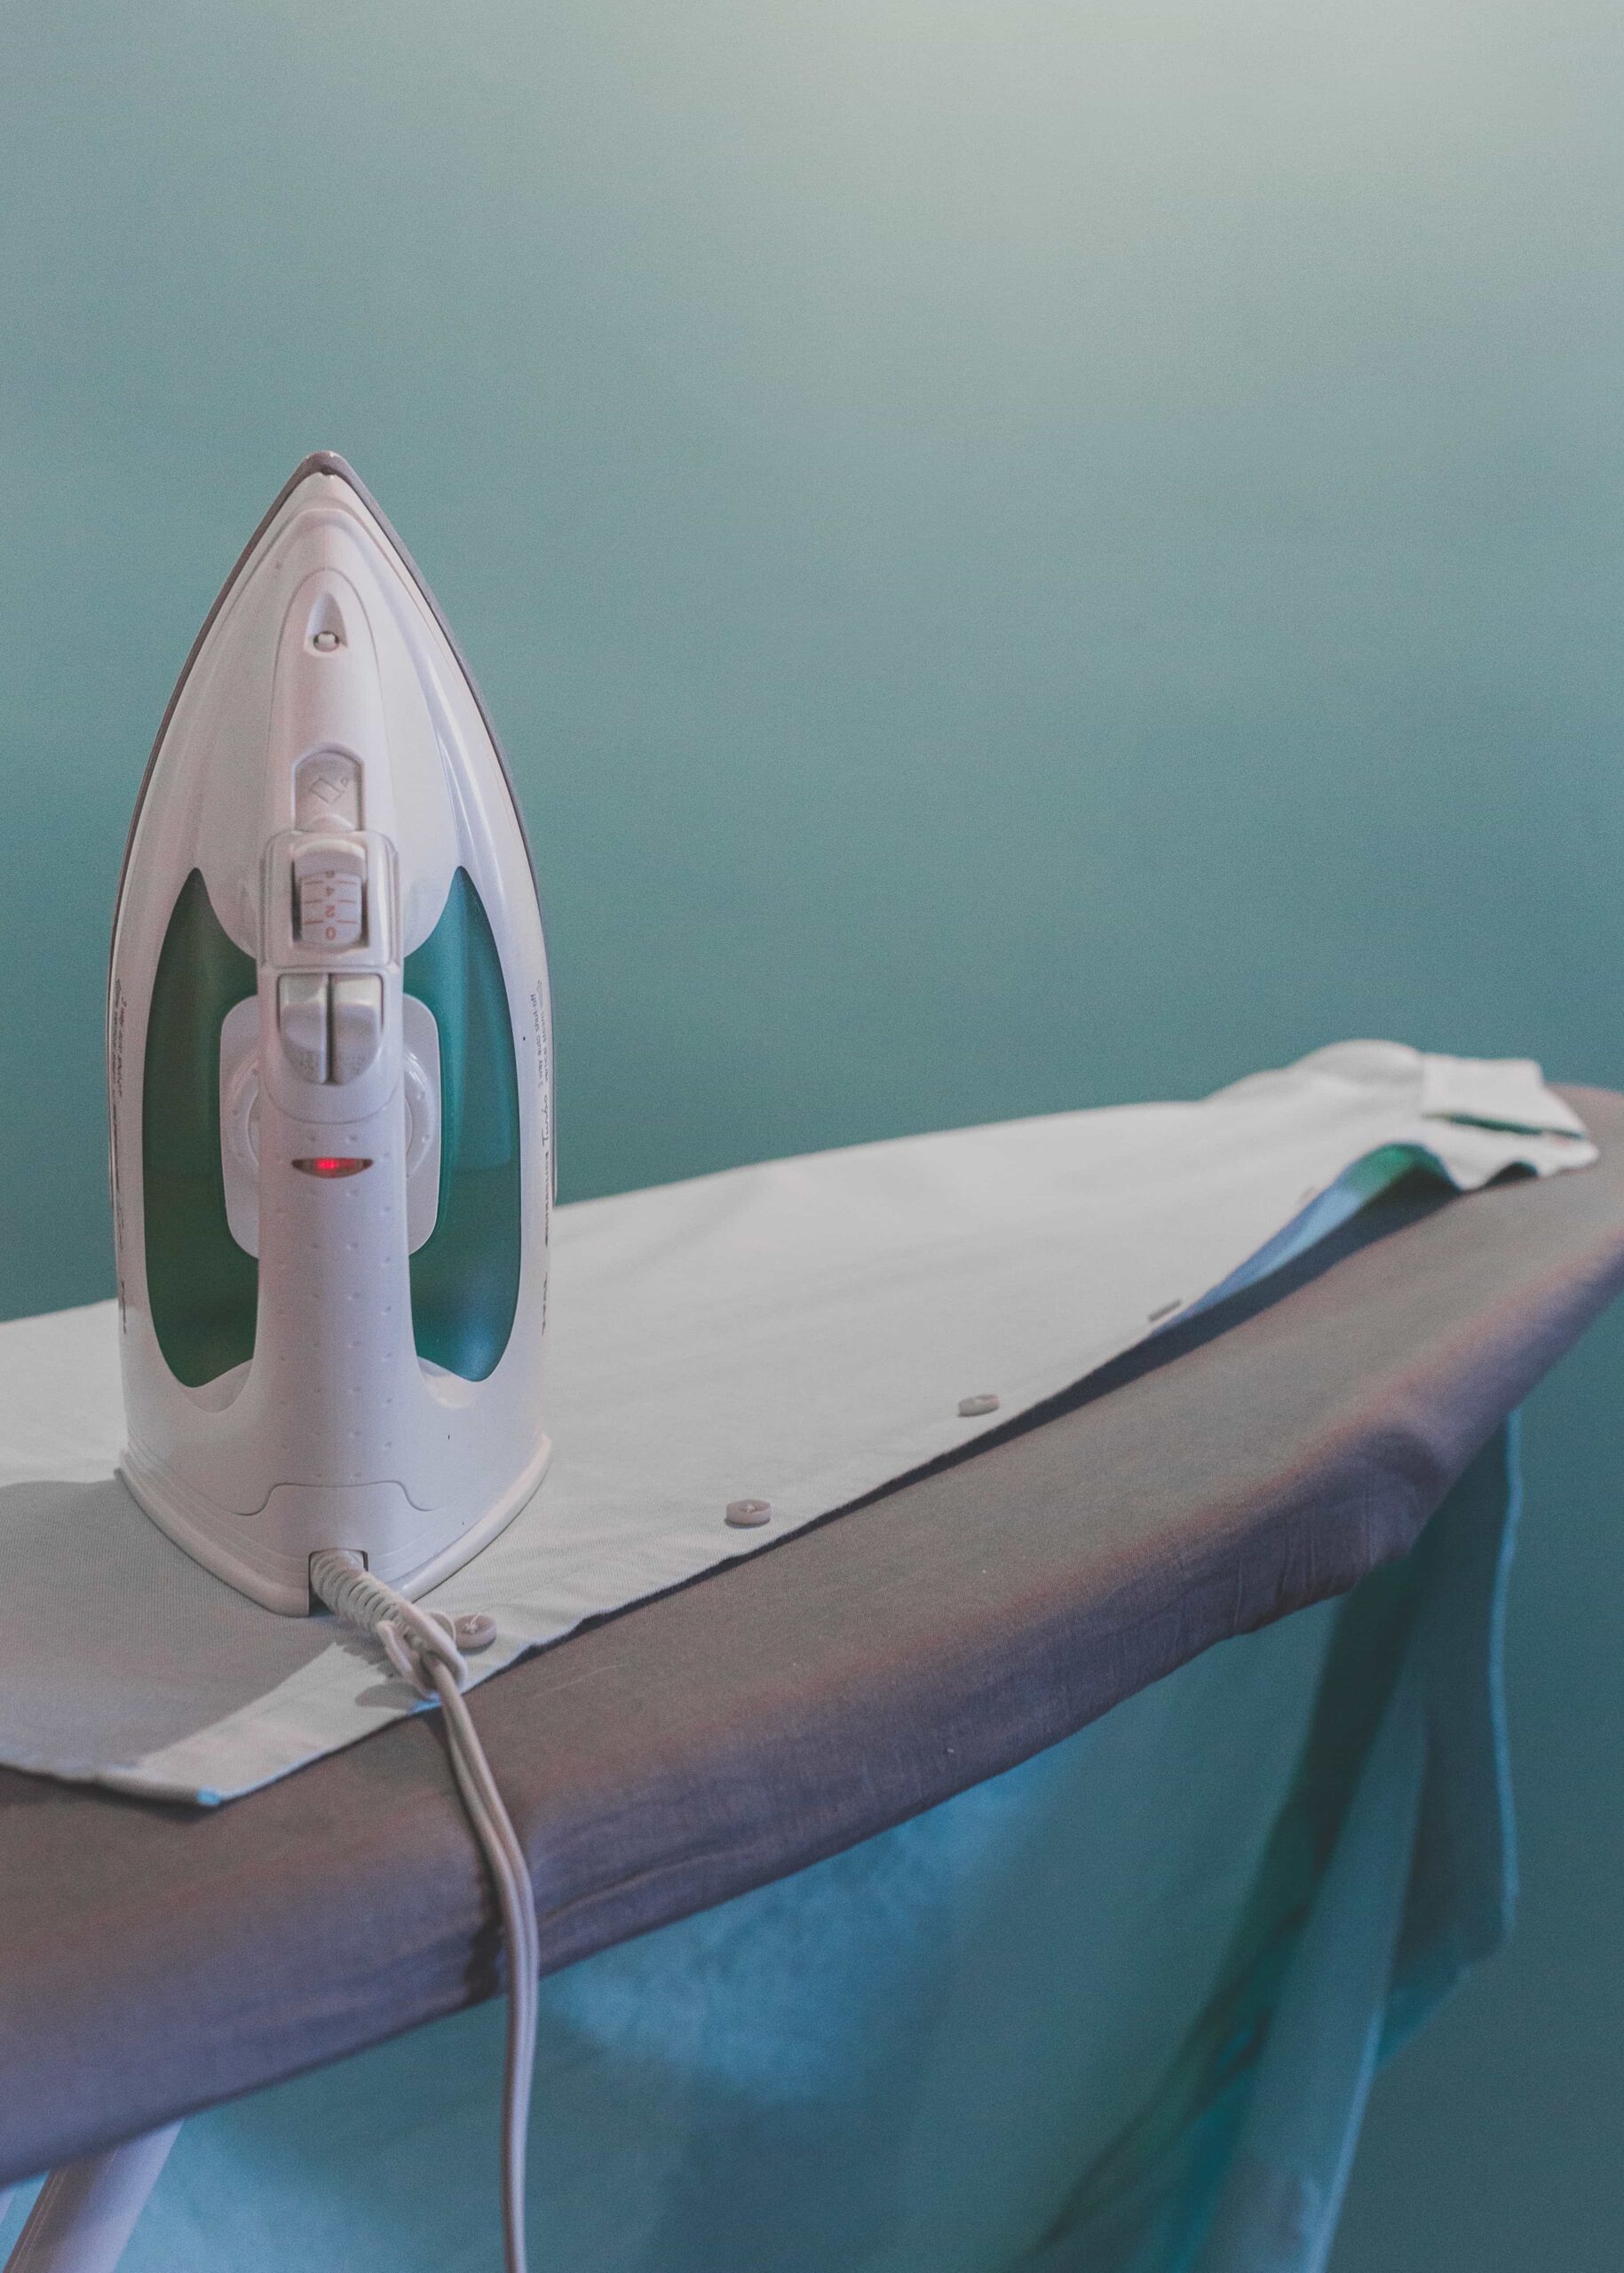
First, you’ll need to gather a few supplies. You’ll need an ironing board, an iron with a “pressing” option or a steam generator, and some sort of fabric protector (optional).
Once you have all of your supplies, you’re ready to go. As for the gesture… Our favorite method is to start with the collar and the top of the shirt. You will then end with the body of the shirt. Get your irons, get set, go! ⤵️
Prepare your shirt before ironing
First, it’s important to talk about good habits to adopt to avoid having to iron your shirts too often. We have all been there, we take our shirt out of the closet and it’s wrinkled…
But don’t worry, there are some ways to avoid this! Let’s go over a few examples:
Your shirt has just come out of the washing machine… What’s the first thing you should do? Hang your shirt on a hanger! For some materials such as cotton, this can save you and require almost no ironing: you just have to iron the collar!
If you have a light shirt (acetate fabric for example), a steamer that works at low temperature can be used. This is called the cold ironing technique.
To polish the details and get a crease-free shirt, take out your ironing board and iron, then lay the shirt collar flat on the board.
Note: for this very specific case of ironing a shirt, we strongly recommend that you use a steam generator. If you have a simple iron, use the iron’s “pressing” option. Steam is indeed your best friend when it comes to how to iron a shirt, and makes ironing shirts easier!
How to iron a shirt: Step-by-step method
Your equipment is ready and at the right temperature, all you have to do is iron! Here are the steps to follow:
Iron the collar and shoulders of a shirt
You are going to start ironing the shirt from the collar. To do this, lay it flat and hold it there.
- For the direction of the iron: start from the outside towards the center. Pass the iron inside out and right side up.
- Fold up your collar and mark the fold, then iron it.
- Then move on to the shoulders of the shirt. Use the ironing board for this: you have to put the shirt on the tip of the ironing board. Then start ironing, staying flat on the shoulders.
- Iron the second shoulder.
Iron the sleeves of a shirt
You did the hardest part, or almost! Now go to the sleeves of the garment!
We recommend that you start with the ends of the sleeves, called cuffs.
Use your free hand to keep it flat, then run the iron lengthwise. Watch out for buttons or other details often placed on this part of the shirt. You may have to run the iron a few times over the edges to get them flat.
Iron the back and front of the shirt
Now is the time to switch to the body of the shirt !
Our methodology:
- Lay the back of the shirt on the ironing board, paying attention to creases
- Turn the shirt over then pass the iron again: you must go inside and outside the garment!
- Then proceed to ironing the front of the shirt. Follow the same pattern as for the back of the shirt. Here on the other hand, pay attention to the buttonhole and the pockets.
- Repeat the process and iron the outside of the shirt
- Finally, you must hang your shirt on a hanger
You will see, after having stored your shirt in your wardrobe without any wrinkles, ironing a t-shirt will seem so easy to you!
The easiest way to iron a shirt? Leave it to the professionals
And if despite all our advice, ironing remains a ruthless universe, call on ironing professionals. They will overcome creases and guarantee you an impeccable result. Wecasa offers professional ironing services in just a few clicks, starting at just £14.90 per hour.


